

'/%3E%3C/svg%3E)
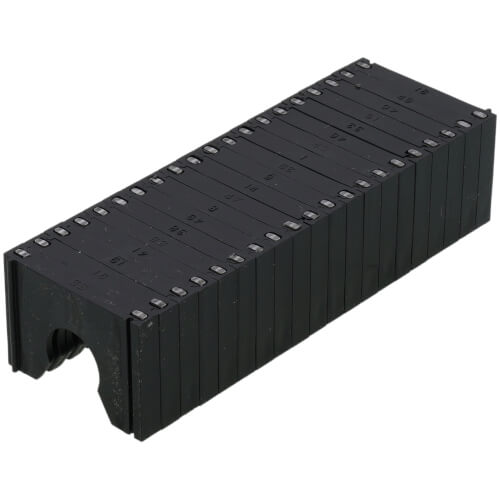
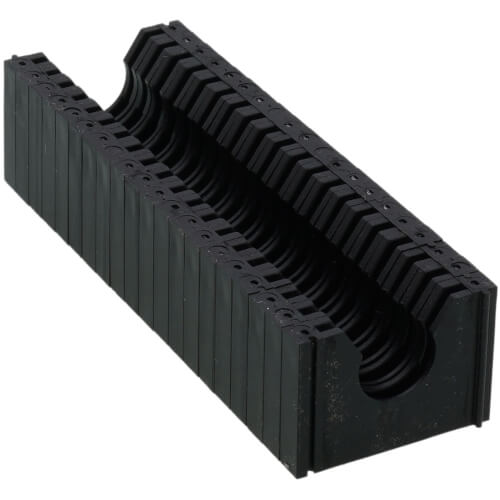
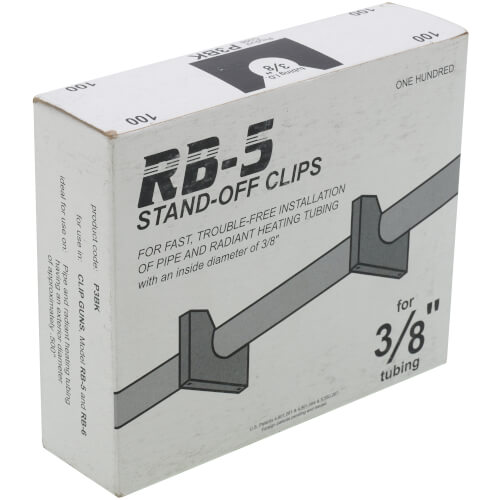
Box of 100 Stand-off Clips for 3/8" PEX
MANUALS (1)
Product Highlights
Description
Installations with the RB-Stand-Off Clips are strong. Two galvanized nails driven 5/8" into the wood provide holding power that is secure and long-lasting.
Specs
| Application: | 3/8" PEX |
|---|---|
| Type: | Clips |
| Material: | Plastic |
| Tubing Compatibility: | CPVC PEX |
| Used With: | RB-5 RB-6 |

Questions?
You May Also Need
Product Reviews
Does not hold
Great product
won't use them again!
Good product and performs as advertised
Very creaky and loud
Great
FAST N& EASY
Excellent product!
3/4" Pex Stand-off Clips
Product Q&A
7 QuestionsQ: How far down from the sub-floor does the tubing hang with the stand off clips?
Asked by Cris 13 years ago
Add your answer
The "stand off clips" in my experience hold the tubing right against the subfloor you "staple" it to. From my knowledge, this is necessary for the tubing to conduct heat into the subfloor efficiently. It takes some effort to shoot them into the subfloor, but they work pretty well. Buy more than you need. There will be some waste plus I did not use the metal reflector plates, only the foil-faced paper to create a reflective barrier. My system works fine. I was concerned about noise coming from the metal plates when the system heats/cools. I do get some noise even without the tin plates. But it is negligible. The metal plates may enhance heat conduction or the heat dispersion over an area. But my system works great here in NE Ohio. I would not build another house without radiant heat!
Less than an 1/8 of an inch.
For 1/2" PEX the clips put the bottom surface of the tubing about 3/4" down from the subfloor, depending on clip penetration into the sub floor. Sent from my iPhone
Q: How often do you install a clip? is it every foot? This would be installed in a 1800 sq. ft. home.
Asked by steve 13 years ago
Add your answer
I went between 16 and 24 inches. Sent from my ASUS Pad
In the Ontario building code section 7.3.4.5. It states PEX pipe is supported at intervals not exceeding (3ft 3in) horizontally. Vetical supports not to exceed (8ft 2in). Cheers, Jeff Barry
Q: The clips pictured do not show any nails. Does the clip gun merely attach the clip to the tubing? Or does the clip gun also install the nails? If the nails aren't included with the clips, what size nails should be used to ensure 5/8" penetration into the wood?
Asked by Greg of all trades 14 years ago
Add your answer
The nails are inside the plastic of the clips. The gun pushes them into the wood.
The nails are very small and part of the clip. I prefer the talon style clips (not for this gun). I will sell you my gun and clips if you are interested.
The nails are in the sides, and are pushed through into the surface by the mounting gun.
Nails are embedded in the clips.
Even though you don't see them the nails are in the clip already. When you hold the gun over the tubing the gun forms a U over the tubing with the base of the clip touching the wood. When you squeeze the trigger of the gun it drives the nails into the wood. It works very well, I'm very glad I purchased it. But read the instructions, you have to squeeze the trigger a few times to drive the nails all the way in and you don't want to move the gun before you have driven the nails all the way in.
Greg of All Trades: The nails are thin (2 per clip- you can just about make out the heads if you look really close at the picture) and embedded in the body of the clips themselves. Load the gun w/ clips and put over the tubing. If using the manual gun, you squeeze the trigger 3X, the nails in the clip are driven in and the tubing is attached. A slight pull on the tubing and it will click into the circular seat of the clip...worked slick for me on both 1/2” & 3/4” tubing (with the right sized clip of course!). Not sure on actual penetration into the wood, but I had no problem running them into Advantec sheathing and they won’t pull out under normal use. If you mess one up, it is no big deal to remove w/ a pair of pliers. Hope this helps. ad
The nails are inside the plastic legs, you can't see them. You need to squeeze the gun two to three times to drive the nails into the wood. And its better to lift the gun off the tubing by lifting the front first, otherwise its easy to bend or break the clips. Hope this helps. Sent from my Verizon Wireless 4G LTE DROID
they go into the pex stapler
Q: can i use these clips with a regular stapler gun
Asked by 14 years ago
Add your answer
These staples are only compatible with Peter Mangone staplers.
Q: Do these work with pex-Al-pex?
Asked by 15 years ago
Add your answer
You can use Peter Mangone staples with PEX-AL-PEX. Since PEX-AL-PEX has a larger outside diameter than standard PEX, you may need to jump up a size.
They were too tight on pex-Al-pex for me. Make a horrible noise when warming up as a result. I used 3/4 stand offs on 1/2 pex-al-pex which was "better" but it's much looser
Q: how do you fasten the clips to the floor? hammer?
Asked by e 15 years ago
Add your answer
These clips must be fastened to the floor using the Peter Mangone RB-5 Manual Clip Gun.
The clips are fastened to the floor using Peter Mangone RB-5 or RB-6 clips guns and galvanized nails. Nail depth should be approximately 5/8" for the most secure installation.
Q: What is the height of the 1/2" clip from the floor?
Asked by Customer 15 years ago
Add your answer
The clip measures 1 1/8" tall.