

'/%3E%3C/svg%3E)
MANUALS (2)
Product Highlights
Description
- Literature: D 079
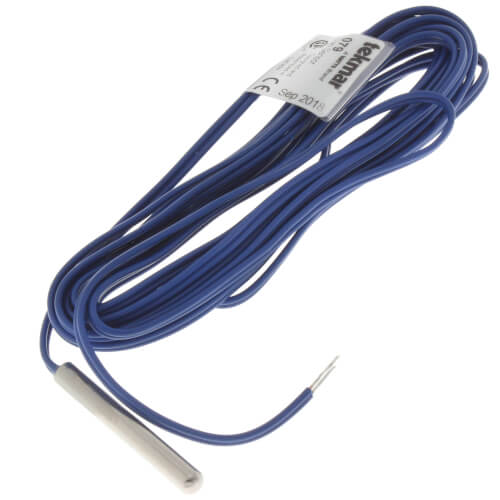
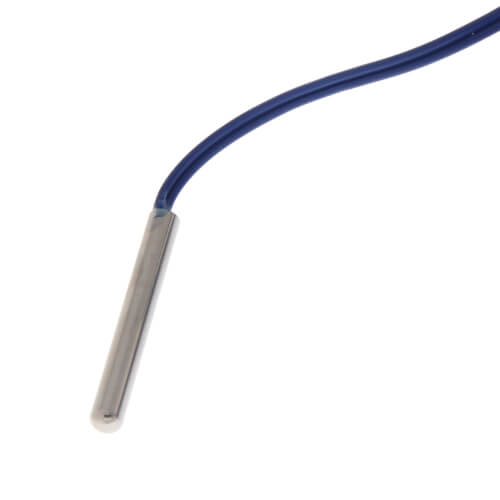
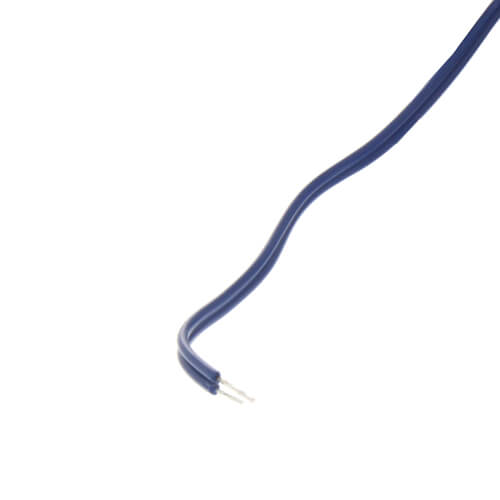
- Packaged Weight: 0.08 lb. (35 g), 316 stainless steel, 10+ (3 m) 24 AWG, 300 volt PVC insulated Zipcord
- Dimensions: 3/16+ OD x 1-1/2+ (5 OD x 38 mm)
- Approvals: CSA C US, CE
- Operating range: -60 to 220+F (-50 to 105+C)
- Sensor: NTC thermistor, 10 k @ 77+F (25+C +0.2+C), +=3892
- Included with 079: 120+ (3 m) length of PVC zip cord
Specs
| Length (Feet): | 10' |
|---|---|
| Type: | Slab Sensor |
| Voltage: | 300v |
| Outside Diameter: | 3/16" |
| Power Supply: | Wired to Control |
| Temperature Range (F): | -60°F - 220°F |
| Sensors: | NTC Thermistor, 10 k ohm @ 77°F |

Questions?
You May Also Need
Product Reviews
I would buy this again.
Keep up the great work you do, because it's rare!!
Tekmar Slab Sensor
I will continue to buy this product.
Slab Sensor
Floor heat slab stat
Slab sensors increase comfort and Save m
good product
great product,will buy again when needed
Product Q&A
6 QuestionsQ: Is this sensor suitable for engineered wood floor installations or just slabs? Thx.
Asked by nikey 12 years ago
Add your answer
Yes, just make sure you place in a central are. It should not be covered by any area rugs or mats.
This sensor looks like a 10K, RTC thermistor which will work with any controller that uses this common type (in the HVAC industry) of sensor. The sensor can be a generic thermistor or a brand name like Tekmar (that is what it looks like) and the control can be Tekmar or another brand that accepts this style sensor. The location of the sensor relative to the systems radiant panel will affect response time and offset (the accuracy of control). Often its best to insert it into the floor assembly to get the best control and it will be better than a thermostat that only senses air temperature. best wishes, TJ Alexander
Either. The key is to locate the sensor such that you get a representative measurement. Not on the pipe but not too far from it either. Since the preferred floor temperature will tend to be subjective, the primary issue is making certain the location of the sensor is appropriate for how it will be used. If it is intended to be a high-limit for protecting the wood, then placement should be near the supply water inlet to the floor so as to measure the warmest area. If the intent is to give greater comfort control, then the placement should be somewhere midway between a loop's supply and return so you get an average. Also, since the sensor is quite small, sometimes it is prudent to attach it to some sheet metal or foil to have a greater surface area measured. Some heavy duty aluminum foil folded into a 2 or 3 ply strip then formed around the sensor and sandwiched between the sub-floor and finish floor can give you a much better and faster responding sensor installation (make sure you make a cavity for the sensor, don't crush it!). Thermal compound can be added for additional performance. I hope this is helpful. Good luck!
Q: How would one install this in a sleve/piping before the concrete is poured? I would like to use a 3/4" pvc elbow, need this size elbow because of the size of the sensor, to stub up through the floor and would like to reduce down to 1/2" pex tubing from the elbow. A 3/8" romex connector fits in the pvc and the 1'2" pex fits the romex connector. The problem with this is with the romex connector/pex union inside the pvc this creates a stoppage point for the sensor to pass through. If you have installed this in the floor, how have you done it?
Asked by sailingsolo 14 years ago
Add your answer
Hello. The simplest and best way to install a slab sensor that I have found is to use some 1/2" PEX pipe and route it from the location in the slab where you want it all the way to the thermostat or controller location. As long as you don't bend it any tighter than you would for running water through it, the sensor will fit through it just fine. I have installed sensors in pipe that is 60' long from t'stat to end (you can extend the sensor wire quite a bit, I'm not sure what the limits are but at least a couple of hundred feet). This approach does two things; it gets the sensor wire to the t'stat AND it allows for pretty easy replacement if it ever is needed. The trick is being able to push the sensor and wire down the pipe. Fish-tapes don't work and I had problems with a number of approaches before I found a good solution. I used the heaviest string trimmer (you know, a weed-eater) line I could find and along with electrical wire lube on the sensor. I used electrical tape to attach the line to the back of the sensor so the line "pushes" against it (it's off-center and not perfect but you need the lowest profile you can get) and then again about 6" further up the wire. You can tape it every couple of feet all along the length if you like, just keep the tape wraps small and thin, they don't need a lot of strength. Push it in until it hits the end. I do recommend a plug of some sort to keep the concrete out of the pipe. And don't install the sensor until after the concrete is done. On the control end, orient the PEX so that the sensor wire comes out where you want it and the PEX can't fall into the wall cavity (if that's how you're installing). It's best to anchor it if you can or you can use an "old-work" style low voltage electrical box and arrange the PEX inside that. I also like to move the sensor label from near the sensor to the wire connection end so if replacement is ever required, whomever does it has the part number right there. After it's in all the way, trim it to length. The trimmer line stays in with it and allows easy removal if required. Our company has done this approach numerous times with great success. We put in the PEX at one point in the construction and return later to install the sensors. I usually push the trimmer line in full length and cut it a little long for easy manipulation before I attach it to the sensor. Good luck!
Q: Can this sensor be pushed through a 1/2" pvc 90 degree elbow? Will have about a 25' run with two 90 degree elbows and two 45 degree elbows. I am aware that the wire will have to be lengthened.
Asked by sailingsolo 14 years ago
Add your answer
The sensor itself will not fit thru the elbows,you can pull the wire thru the other way once you extend it. Hope this helps.
Hi, I'd have to say "not likely". The 45' angles would be ok but the 90's are we're the issue is. The sensor on the end is approximately one once long and does not lend itself well to "snaking". Alex
The sensor is 1 1/2" long and 3/16" wide, so small radius 90 degree turns are not going to work. I have pushed for 6-8' through PEX tubing with large radius 90 degree turns.
I believe the answer is no. Especially if the elbow has 1/2 pipe already pushed in and glued on both ends. If it is being assembled from scratch, push the lose wire through from the other direction.
It will be difficult to thread that distance with 90 degree angles. Maybe a pex tube with sweeping bends will work better, if you have the room. Jeffrey Mayhew Sent from my iPad
I tried inserting the sensor through a ½" elbow (slip/slip) and it worked with a little wiggle. Not much room but it did go through.
Q: Assuming that one uses the same gauge wire, and good soldered, heat shrunk connections, can the length of this sensor's wire be extended to approximately 25-30 feet?
Asked by Scott 15 years ago
Add your answer
Yes, this sensor could be extended if one took those steps.
Q: on an already completed slab (with pex) that will be finished with ceramic tile.... can this sensor and wire be laid in between two tiles and covered with grout, or should a slot be chiseled into top of slab and sensor laid in that?
Asked by JD 15 years ago
Add your answer
We would recommend that you lay the sensor in the grout.
Q: Can this sensor be used under drywall to provide a hidden remote sensor for a thermostat like the Tekmar D508? Thanx.
Asked by Tom 15 years ago
Add your answer
No, you will need a room sensor like the Tekmar 076, 077, or 084.